

Create your first widget
Where it appears, what shape it takes, how products are chosen, and how it looks.
A widget is four decisions: where it appears, what shape it takes, how its products are chosen, and how it looks. The editor covers the first three, in that order, with a live preview drawing your real products; the Appearance screen covers the fourth.
Create it
- From the app’s home page, press Create widget.
- Under Placement, give it an Internal name, which only you see, and choose Where it appears and a Layout. Press Next.
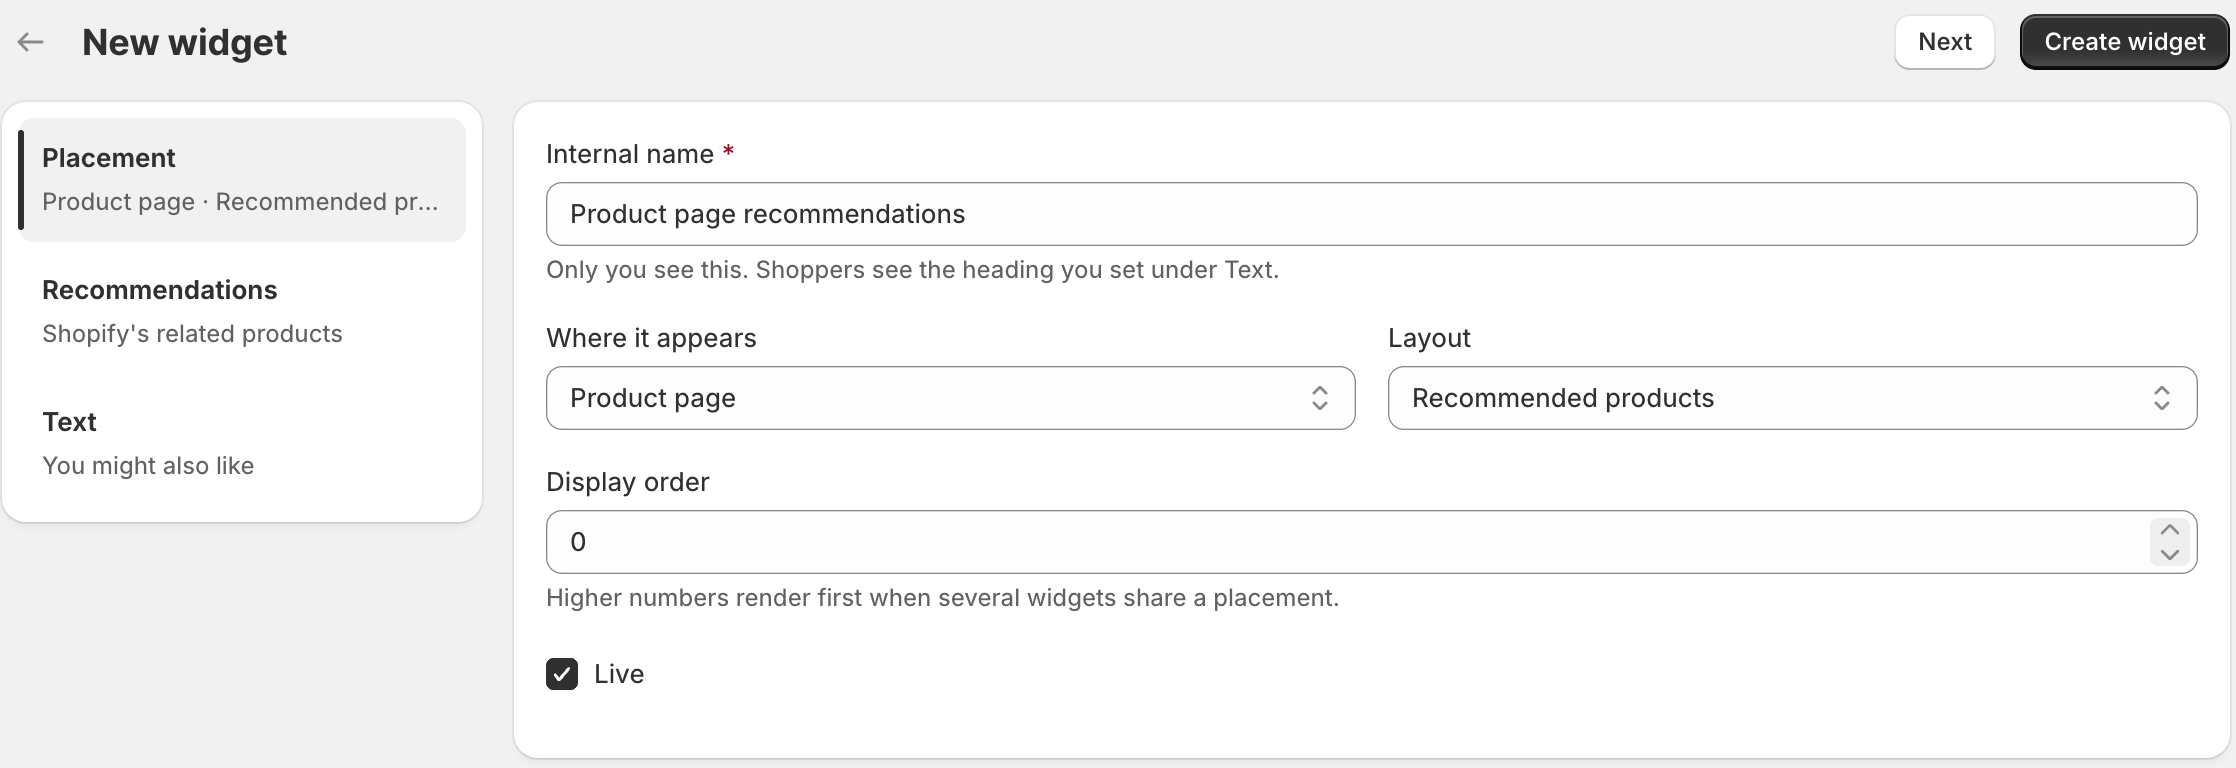
Placement: the name only you see, the page and the layout. - Under Recommendations, choose How products are chosen, and if you like narrow Show the widget on and fill in Never recommend. See How products are chosen.
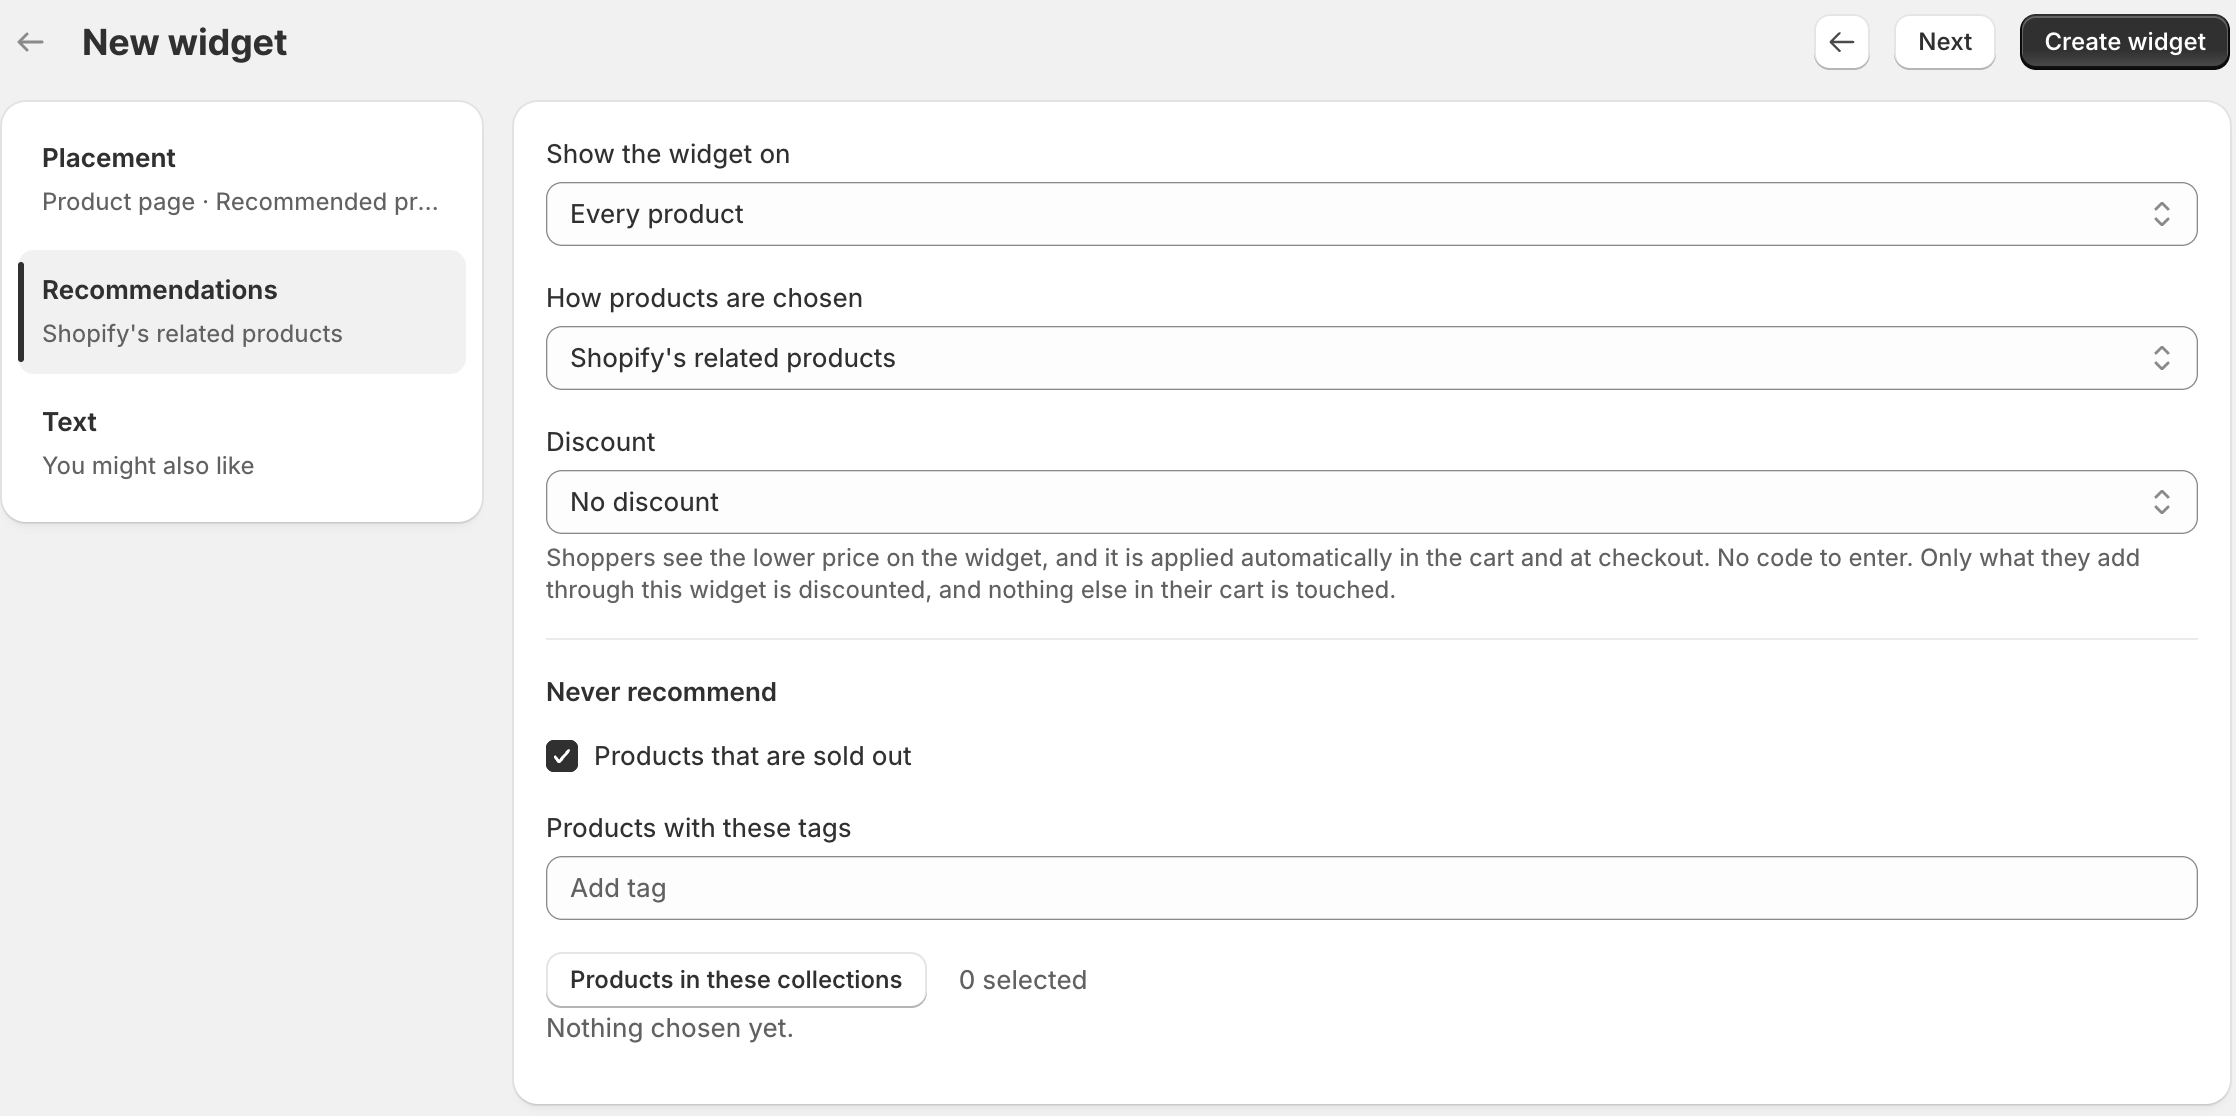
Recommendations: which products, on which pages, and what to leave out. - Under Text, write the heading and labels shoppers will read.
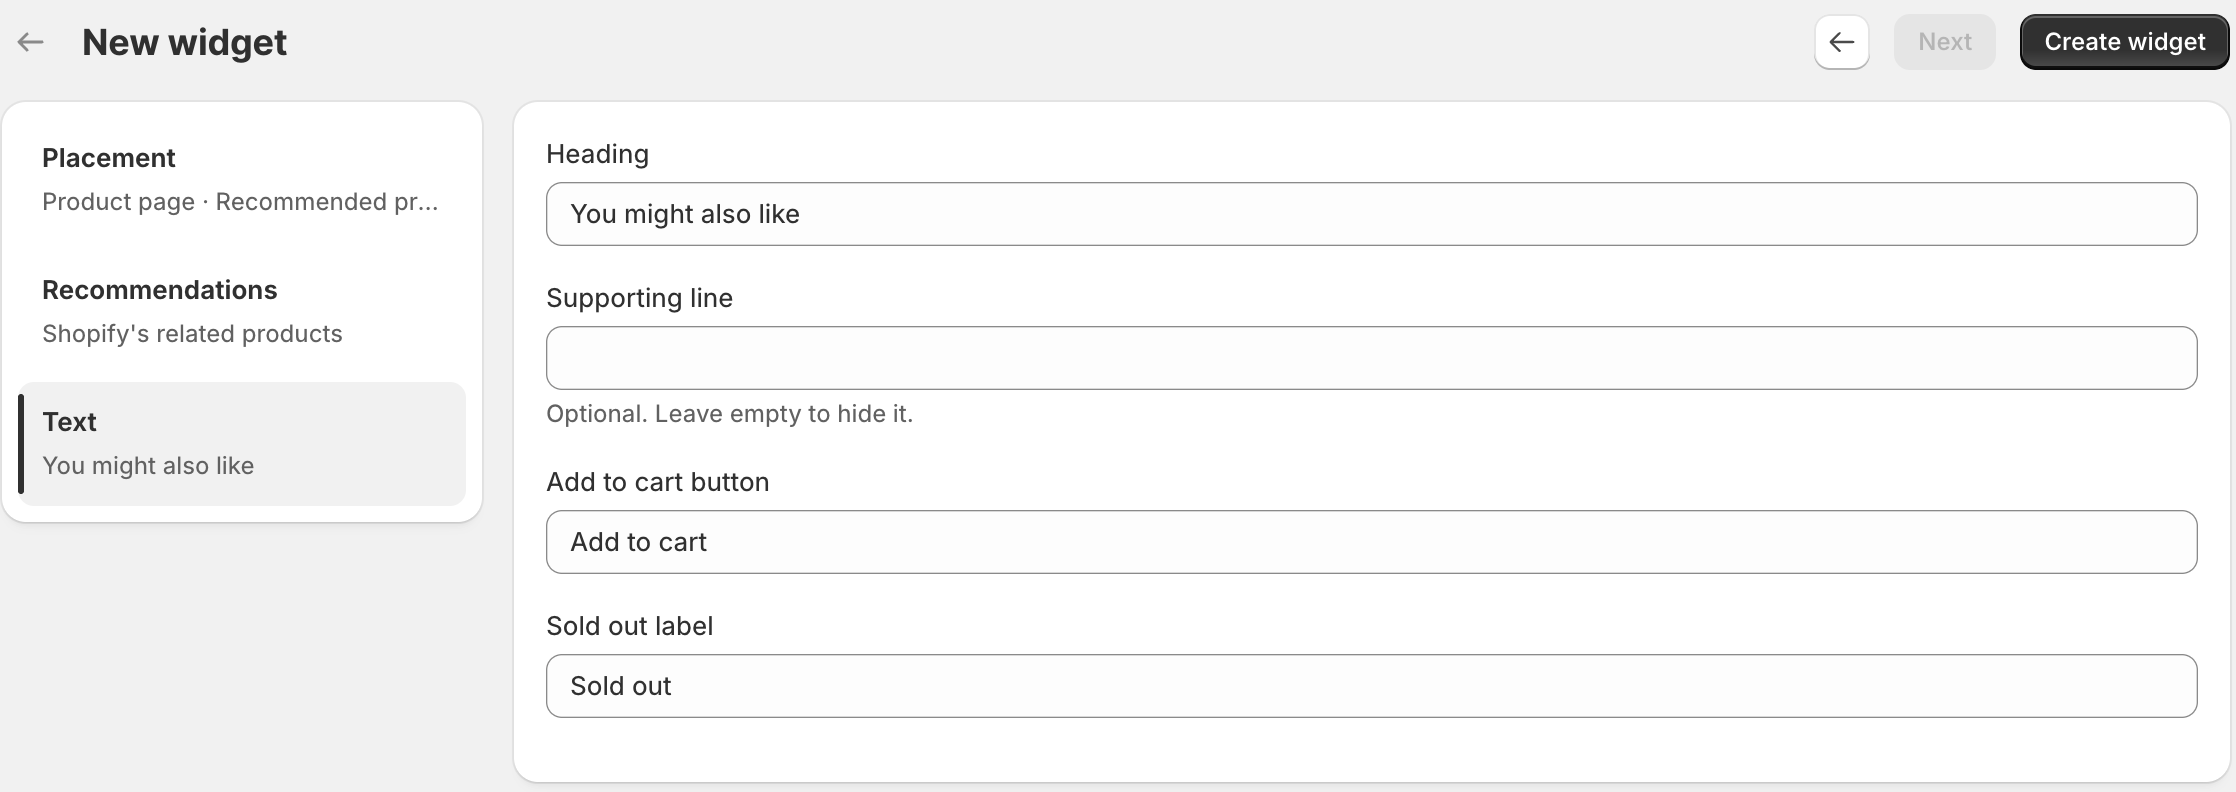
Text: every word the widget shows a shopper. - Press Create widget. It publishes to your storefront as part of the same step, and you land back on the home page with the new widget in the table.
- Open Appearance in the sidebar to choose its style, what each card shows, and its colours.
About the preview
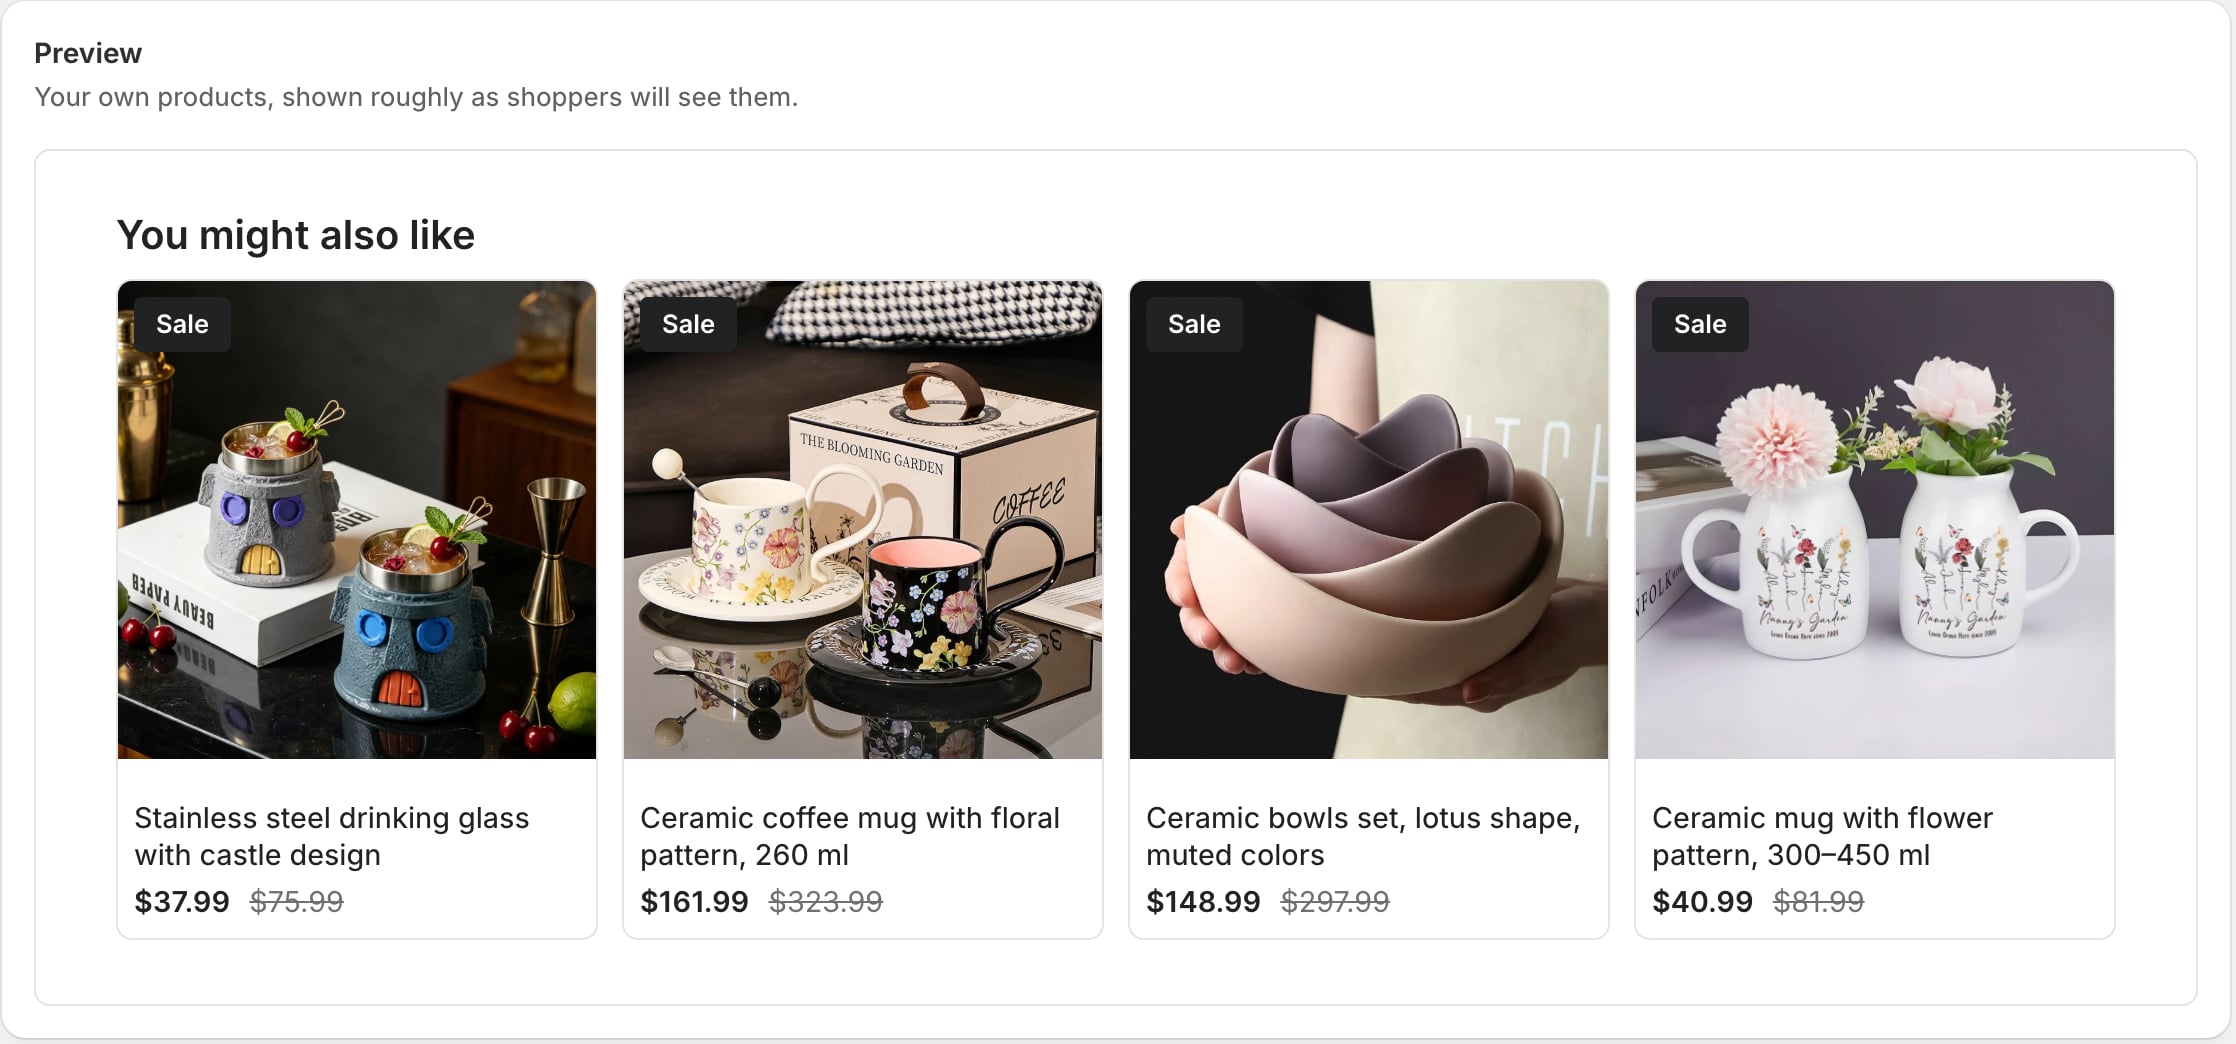
The preview renders your own products, not placeholders, so what you see is close to what the page will show. It is not a screenshot of your theme, though. Your theme’s fonts and spacing apply on the storefront, not in the editor. Check the real page once before you call it done.
More than one widget on a page
If several widgets share a placement, Display order decides which renders first: higher numbers come first. You will need the block placed once for each widget you want visible.
A block left on Best match for this page draws the first widget that fits, which is the one at the top of that order. Leave two widgets on the same number and the most recently edited of them wins, so set Display order on each when you care which is which. Two blocks both set to best match draw the same widget twice: give each block the widget type you want, or keep one block per widget.
Check it on the storefront
Open any product page on your store. The widget should render where you placed the block. If it does not, work down If the widget does not appear . The causes are listed most likely first, and the first two account for most of it.
One thing that catches people out: a widget with nothing to recommend hides itself rather than leaving an empty box on the page. On a nearly empty development store that can look identical to the app being broken. Try a product that shares a collection with several others, or switch the source to Best sellers while you test.
Something here wrong or missing? Tell us. We would rather fix the page than answer the same question twice.